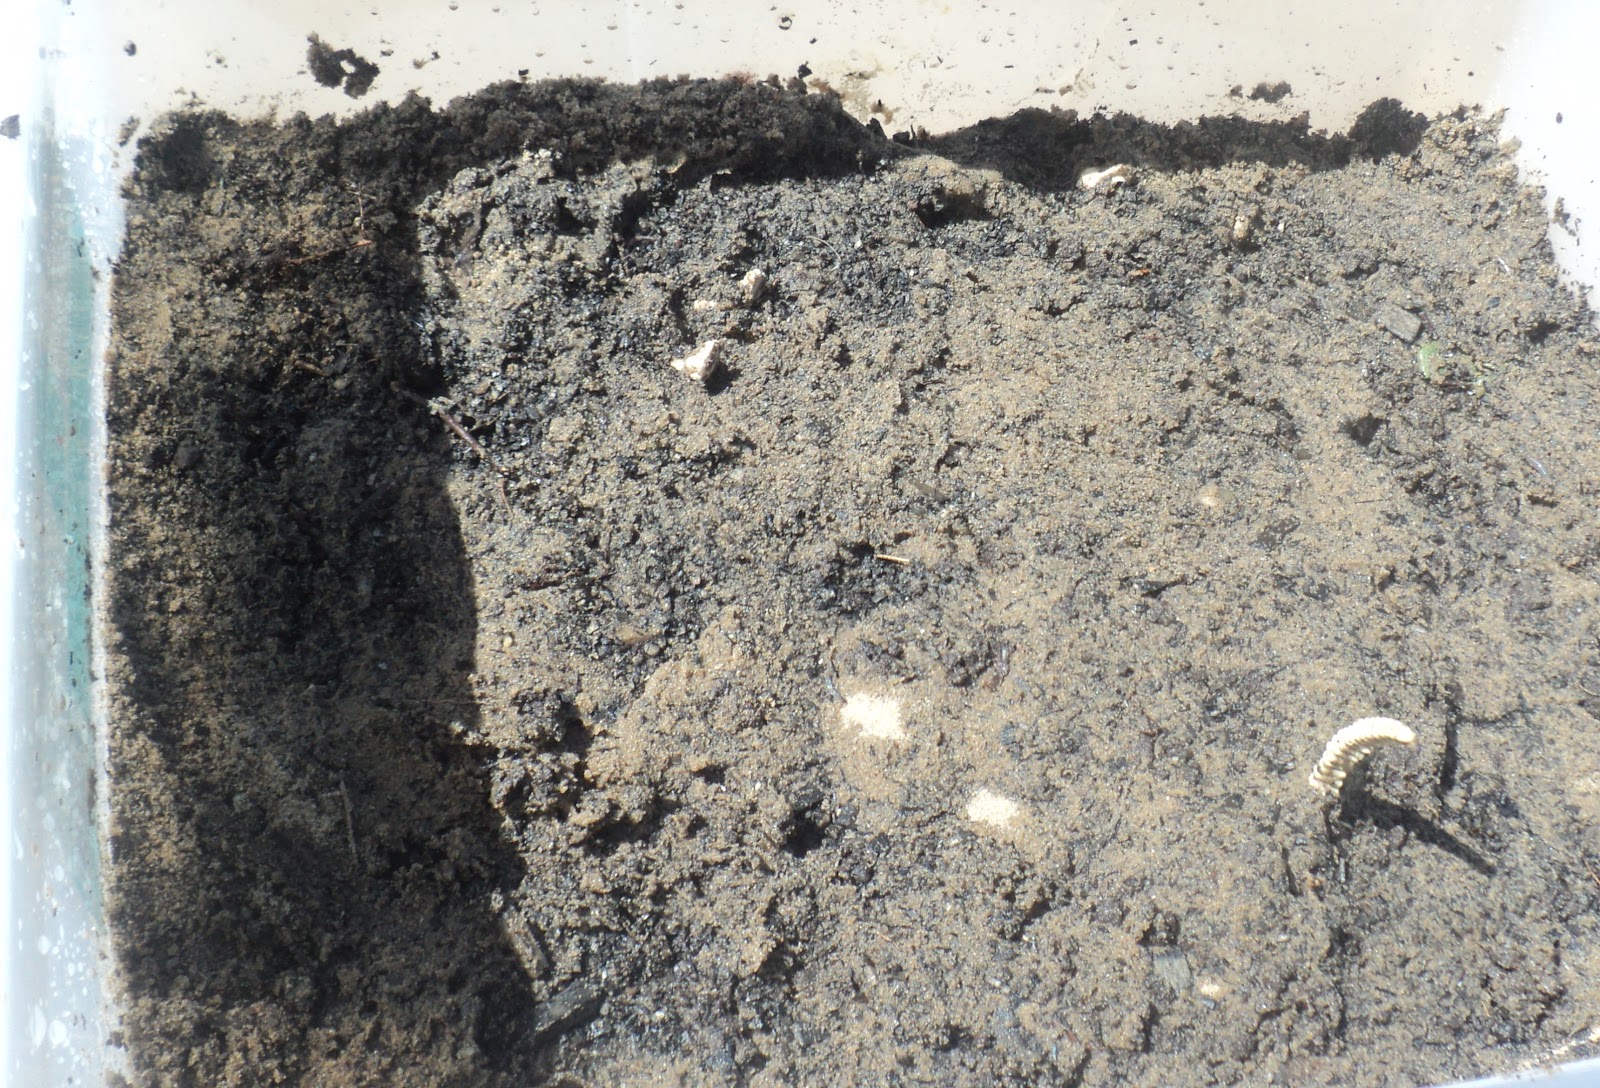
Showing posts with label dirt. Show all posts

Muddy Play Round Up

Things have been quiet around here, Miss Cherub is now 4 weeks old and we are still settling in.   Dimples has been a great little helper and his usual active self. We have been having lots of fun, so although the blog may be getting a bit quieter we certainly aren't and life is very busy at the moment until we find our new rhythm.
 
In recent months we have been experimenting with mud.
Here is a round up of the Muddy Posts to convince you its not so bad :)
 
Dimples loves to get messy and loves the outdoors.  In the backyard he has his very own mud pit, right next to his sand pit and a very cool mud kitchen (see below) this feed the messy outdoor play addiction. It provides endless avenues of play and learning experiences, playing with mud doesn't have to end with mud pies! 
 
I realise not every one is keen on letting their child play in the mud but we here in the Australian country are used to the dirt and mud, we embrace it.  You wont see a door step that doesn't have a muddy pair of gumboots sitting by the door. 
 
Let me try and convince you that it is a good thing with a round up of our Mud play.  Take note, as you look through, to the lovely happy and cheerful expressions on Dimples face as he plays away.


Mud is good for you right?

This was one of the first adventures we had with mud. I was sceptical and had to do a little research to reassure myself it was OK to give him free range of mud. We started with the classic mud pies and gumboots. Dimples had a ball, he enjoyed it so much; This post has info on why mud is good for kids to play with.

Mud Rally Tub

If you aren't comfortable with free range of mud and after a quick clean up, or if you're in an apartment or city where mud just isn't easily accessed this one is for your children. A mud sensory tub, keep it all in the tub and it can be tipped out and washed after the play is finished.


8 benefits to playing in the mud

Another post that includes information on why it is good to let the children get messy and play in mud. Its a free and endless resource with many benefits, check out these 8 reasons.
 

The Mud Kitchen

 
This is the marvellous Mud kitchen that Dimples Adventurous Dad built him. It is awesome and has been one of the best gifts he has. He loved his outdoor play and this kitchen, which cost next to nothing has provided him with so many memorable play experiences already.

Mud Painting process Art

Something different where the child gets to explore mud without getting absolutely covered in it. This post was Dimples mud painting, or should I say splatting? Art is all about the process and this one, done with mud was really process art. Have a look at the different tools we used to create it.


How to make and play with Mud bricks

The most recent Mud adventure that is by far my favourite is How we made and played with Mud bricks. Dimples really enjoyed constructing mud brick huts, houses, walls and stairs with the mud bricks that he made himself. It was also a good lesson on how materials are formed.
 
 
So there you have it.
Lots of muddy fun in lots of different ways.
Mud play doesn't have to be simple mud pies, it can be what ever you want it to be.
Have I convinced you yet?
 
Happy adventures


Alternatives to Dirt Digging Construction


We have been doing lots of mud play since we have made the New Mud kitchen.
Dimples has 2 new Dirt trucks, an excavator and a dump truck that he got for Christmas and he has been keen to take them out side into the dirt.
However, as they are brand new and will be coming back inside on the carpet. I am afraid they will get wrecked, stained or unable to get completely clean again, I am sure they will end up out in the dirt soon enough but for now we did this alternative to digging in the mud that was just as fun without the mess.


For what ever the reason, whether its new toys, new clothes or just the mess factor, I understand not everyone is comfortable letting their child run amok in the mud. Sometimes its not appropriate or realistic!
This was a fun tactile alternative that was very clean, hands on and still provided some independent free play in the outdoors.
Hands-on Outdoor Construction Play without the grubby clean up. win win!


I placed some Large flattened cardboard boxes down outside and filled a plastic tray with unpopped pop corn kernels and an old bag of lentils (that would never get used) and Dimples got to use his 2 new toys for digging without the mess and the dirt.
You could use any dry ingredient: Rice, Pasta, Lentils, corn, split peas or out of date cooking ingredients after you sort through your pantry.
Dimples enjoyed digging, scooping and loading the dump truck, dumping it out and driving over the yellow work site.
The corn and lentils made a sprinkling scattering sound as they were dumped on to the cardboard. It was also alot more productive then dirt, Dimples could easily scoop large tubs full and see them pile up as he dumped them out.


It was a great tactile experience outside, he enjoyed fiddling with the corn peices and getting right in there with both hands (this would also work well with the sensory challenged who wont get their hands dirty to begin with) and the best part was after his toys got shaken off, they were still good as new: No mess, no scratches, no broken pieces and no clean up. It was relatively Quick and Easy!
I just picked up the cardboard, poured all the corn & lentils back into a container and saved it to reuse next time.

Happy Adventures

Magical Gnome Garden

This is Dimples Secret Garden.


It has been a work in progress and our peaceful corner of the yard where mystical talk and magical imagination begins. We add bits here and there, Dimples plays with the gnomes and tells me stories of all the mythical creatures who live in his Secret garden while he swings under the tree.


Come on a Tour of our Magical Gnome Garden....

There is a Hungry Troll that lives under the bridge (of course)
He has claimed many fishing boats that try to sail into his territory.  You must remember to ask permission before you cross his bridge and you will only be allowed to cross if you know the secret word. Only Dimples knows that the secret word is Abra-Cadabra so he is allowed to play with the sunken ship when ever he pleases.


There are fairies living in Dimples garden, although he has never spotted any.  They live in a Large Blue Fairy house with a lovely double wooden door.  This was painted blue, it is just a tree stump cut down the centre and on an angle at the roof. Dimples and I got messy and blue in the process of painting the large trunk. 
These fairies have pet cats and dogs who sit by their door.
They also have a washing line with pegs and a basket so they can hang out their fairies gowns to dry, however they like to hang their clothes out every full moon so we don't get to see what they like to wear.


These fairies like to swing on their wooden swing as they sing along to chirping birds but only while no one is around and they laze on the beach in the morning sun, before the humans wake. They have a relaxing sandy beach area with a Umbrella and a hammock.
Dimples often collects shells that he saves and puts on their beach.


Did you know that fairies love to garden?
The fairies in our garden have their very own gardening patch, they use small spades and rakes. They have a tiny watering can and their very special wheelbarrow to help them around their garden.
Dimples loves to "help" them with their garden.


Over the other side of the secret garden there lives a Grumpy Gnome who sells slug skins and aphids.
He has a gorgeous hand crafted door & small log stepping stones that go past some glowing toadstools and some bright blue mushrooms. 
Dimples Helped with the making of the garden, including placing the stepping stones down, the small pebbles and setting up his super cool toadstool seat but there is always lots to finish.


The Grumpy Gnomes path leads past his court yard area and fire place, where he stacks wooden logs & enjoys magical potion by a warm fire at night.


Past his fellow Gnome friends Twig house, they live under a rosemarry plant & need a ladder to get into their white yard. There are 5 little Gnomes who arent like the Grumpy one, these gnomes have great big smiles and enjoy their sunny garden. Dimples loves to get them and trot them along all the paths and the next time he comes to play, they are always back waiting for him in their garden, by their twig house. Hhmmph, I am stumped, I wonder how that happens ;-)


Past a Peaceful hobbits hut, These hobbits enjoy eating their tea under a small hill. Their house is built into the hill. Dimples made this out of paddle pop sticks and generous amounts of glue, I then lined it with plastic before planting it.


Over the trolls fishing hole Bridge (Dont forget to ask permission to cross) and along a pretty blue stepping stone path.  This will take you past the fairies swing and to a fork in the road where a hand crafted wooden sign For Dimples Secret Garden that reads < Trolls fishing Hole - Gnomes lookout >
If you follow the path to the Gnomes look out it leads you to a bamboo ladder that Dimples & I made.


This ladder takes you to the Gnomes look out where the Grumpy fellow sits all day keeping look out for any humans, he does not like humans and will hide as soon as he sees any.

We all know that magical creatures dont like to be seen by humans and hide away when we are about, they particularly like to come out as the sun first rises, when we are all still asleep and they like to dance around as it goes down, when we are inside eating tea.
That is why we have some very special lights in our garden, it is full of solar powered light up magic mushrooms, toadstools, snail lights, butterfly & dragon fly lights and some bright lanterns.


Under the rainforest canopy next to Dimples Secret Garden, is PixieVille. This is where the Leprechauns and Pixies live in harmony. 
Dimples painted some blue stones with white dots to put in the garden, they look like toadstools & match all his favourite blue things.
There are several Ceramic Castles that were made by myself while I did my yr 12 Certificate that now live in the rainforest.


Throughout the garden there are mirrors, and garden statues, things hanging in the trees like dream catchers and chimes, gecko plaques and jewels.
Dimples enjoys imaginary play in the garden, he plays with the gnomes and the fairies garden, he helps me plant new plants and rearrange things.  His favourite game of all time is crossing over the bridge.
We will continue to grow The Secret Garden.

Linking up to the Fairy Garden Competition @ The magic onions

Awesome Water Wall - Tree House

How to make an Awesome tree house with a water wall on a budget.

In the weeks leading up to Dimples 3rd Birthday party we put together a tree house. I have wanted to do this for a long time but having a bunch of little kiddies over to Celebrate his Birthday was the perfect excuse to get cracking.  Since then we have made a water wall off the side of it!


For an awesome tree house; All you need is a suitable tree, tools, screws/nails etc, possibly a handy husband (but not necessary), some persuasive people skills & some add on's, like the telescope, steering wheel, sandpit. 
We started with the frame of an unused dog kennel. We took half the roof off and clean it all out then off the side of this we attached a sturdy wood sheet across to the tree. Just a scrap that was left from one of Adventure Dads building projects. Making sure all the materials were weather hardy we used scrap pieces of wood to build a ladder out of the cubby up onto the tree platform.


We put the sand pit underneath, filled with left over treasure from Dimples 3rd Birthday Pirate Party, reused the  "walk the plank" game off the side; it is simply a plank of wood tied up to a crate either side. Then from the local hardware shop, in the kids cubby house section we found a telescope and a steering wheel for the cubby.  Next to tackle the tree house.
Using some wooden Palettes, also free from a local builder  & a local flooring shop, we put several up over suitable sturdy branches as platforms to climb from the trunk of the tree out on to .
Making sure they were reasonable level with either rope, ladders or safe branches to access as handles they work as  "look outs"on what Dimples pretends is his Pirate Ship.


From the local fish co-op, we collected a bunch of rope and fish netting that they were no longer using as it had hole patches in it. They were kind enough to let us help our selves to a mass of thick rope and a huge net that hadn't been used in a long time. It was completely dried out and perfect.
this was strung on the other side of the tree across to various sturdy tree branches and the large thick rope was used, repeatedly to surround the entire tree house, cubby house & large play hammock for added support but also for safety, so that Dimples could use them to hold on to for balance or to pull him self up.


I have to admit, I have been in this before with Dimples more than once. well quite a lot actually.
It is the most beautiful place to relax, its like a HUGE HAMMOCK in a tree canopy.
I often take a bunch of books and lay down in it with him reading but then we just end up laying there staring up at the tree branches above, watching birds and butterflies and listening to all the sounds from the trees. Yesterday we watched a spider high up in the tree, spinning its web- It was pretty cool to see as the sun slightly sparkled through gaps between leaves reflecting off the shiny web!


Most of the materials we got for free as scraps or relatively cheap. The thick rope acts kind of like a support, it keeps all the branches strong to the centre trunk and is a railing around the entire tree house.


Add a Pirate Flag here, there and you have yourself a cool tree house.  Of course everything is screwed or tied down. We refrained from nailing anything actually in to the tree, it might come down one day and we wouldn't want to harm the tree or possibly kill off certain branches that are needed for support so we mainly relied on placement and the rope but everything has been Mummy tested & past with flying colours.

I recently read an article on one of the 'kiddy blogs' on risk taking and I thought it was very relevant to our tree house. I cant find the link for it but it was very interesting!  It discussed risk taking, as a toddler/preschool and the benefits of it. I wish i could find it for you, you may have read it?

The tree house is a perfect example. This encourages safe risk taking, children get to test their ability and know their boundaries. Through this they learn what they are capable of and when they should stop, if they feel they really cant do something they wont attempt it. As long as they know your there to pick them up or help them out if they go past their limits all will be well!
Another thing of interest that was in the article was in regards to the  "be careful" "oh watch out "or "don't do that" phases that we all say. Come on! You have said one of these before....?
 I know I do and I didn't even realise what I was doing, being over protective with lots of warning statements like this conveys the message that we don't trust that the child can do whatever they were about to do. Or that we think they aren't capable, we are putting doubt into their ability & controlling their freedom. This can make them hesitant and hinders their confidence, so I try to bite my tongue now & let Dimples test himself.

I'm in no way saying throw a 3 year old on a wooden crate high up in a tree & let them swing around on their own all day, but good old outdoor play in nature has so many benefits that are often overlooked, or they are avoided because of safety fears.
Climbing trees, being free in the outdoors and playing in tree houses connects a child to nature and it is quite spiritual and relaxing, not to mention the benefits of it...

Climbing, swinging like a monkey, pulling up on to a branch or balancing on a plank of wood, Playing in a tree house - Everything tree climbing,  aids in:
Upper body strength,
Imaginative play,
Being outdoors & being active
Perseverance
Testing their own limits
Balance
Attention
Stretching
Learning what they are capable of doing
& helping them to rely on their own instincts.


 For an Awesome Water Wall;  You will need a wooden board, some pipe, old bath toys, bottles, funnels and PVC tube cut in half.


This was easy, again using bits and pieces that were scavenged up from around the house, shed and yard and screwed onto a scrap plank of wood.


At the top we screwed on some half bottles that had hoses or pipes attached to the bottom, kind of like a home made funnel. In different directions they lead down to various containers from bath toys that have holes through them, like a shower head.  Down into funnels that are screwed on, a PVC pipe that is cut long ways into 2 gutter like rails, down into more bath toys like the lobster one below that has a spinning pot, pouring the water into the bowl as it fills.


Down in to a little watering can and through more laundry hose. We have many different openings at the top & Dimples has his own little watering can but they all run into one of the 2 bottom bowls that can be tilted to empty back into the watercan.
Dimples has had lots of fun on this and is always so intrigued of which way the water rolls, He tests it out; can he block it off, slow it down or divert it.

While in the making of a water wall you really need to test where the water goes at its limits-
Quite amusing to Dimples & Adventures Dad (who was delivering more screws to us on his lunch break) the first one I drilled on was way off, I was feeling really handy & clever with a tech drill until the water flew down the pipe and missed the next rail by a good 20cm & landed spat on to the grass.  They both had a giggle as my hand went to my forehead "FAIL".  Thank god I tested it before I completed the whole wall, that would have been a process to fix so do test your water flow first or you may have a day long project instead of an hour long easy task :P 


Happy Adventures

Mud is good for you, right?

Playing in the Mud: Our Mud Pies.

In Australia at the moment we have had a record amount of rain, with no break from the wet for over a week we have been doing lots of things inside and I was slowly running out of ideas and motivation as inside play for so long can become very mentally draining.
I promised Dimples that when the rain stopped we could play in the mud and make mud pies.
When the rain stopped for a short while over the weekend we were straight out there.


I gave dimples a couple of old containers and some digging tools. I put a heap of mud into a container next to his play surface and he got busy making me some mud pies, he put grass sprinkles on top with a few stones. mixed it all up and splatted it around until he found a worm to play with, then he let it go free.
Enough with the tools, he went hands first squishing it in his hands, squeezing it through his closed fist, splatting it into the bowl, tipping it out, mixing it with more water, playing with worms, and burying his hand under the mud. If he found any dirt chunks he made sure they were smoothed right out. It was a lot of fun!
By the end of it he was stomping and jumping in the mud puddle.
To tell you the truth I don't know why we haven't done this before, it was too easy to throw his clothes straight in to the laundry tub for a wash and take him in for a quick warm bath before the rains hit again.

Did you know that playing in the dirt & mud is good for kids.
I think with the modern day plastic toys, cool kids movies and all the stress about cleanliness mothers forget that the most simplest fun can be had with some tools and a bit of dirt.
If you give your child some old pots and plates, cooking utensils and tools with a bucket of wet dirt then let them go without stressing over how dirty their clothes will get or if they will rub mud in their hair you will find quite possibly that they will have fun for hours.

I recently read an article about the benefits of playing in the dirt, a-dirty-kid-is-a-happy-kid and I must admit I was surprised about how good it actually is. I knew it was great for sensory and tactile abilities but did you know that the (good) living bacteria in dirt can help improve mood, has been linked to higher iq's and boosts a child's immune system.  So now you have an excuse to let your kids get dirty and play in the mud!


Another thing that I must point out, that i personally think is very important is that this dirty messy fun play builds a stronger bond with nature and the outdoors which is very important in raising the next generation. With all the technology, on line activities, video games, cool kids movies and a million reasons to sit in front of a screen for most of the day parents need to be reminded of how beneficial outdoor play is in the long run, it can influence the health and well being of a little person by reinforcing that being active and outdoors is alot of fun and is really enjoyable.
If you have a chance check out the article above, a dirty kid is a happy kid and this one, let-your-kids-get-dirty. and the mud center for info on the benefits of playing in dirt and some mud ideas.

Treasure Hunt

A Real-life Treasure Hunt!


I have been planning to do this for a while but haven't had a free weekend or the props so the weekend just gone I made a point of planning a real-life treasure Hunt for Smiley.


I pre-made & painted some "coins" made from cut cardboard that had written & pictorial clues on the back of them, a treasure map and a box of treasure, oh and of course I needed a pirates flag to mark the buried treasure.  When Smiley was occupied with Daddy helping him feed the farm animals I snuck off and left a trail of semi-hidden clues around at significant land markings & large visual hiding spots (the large gum tree, the camp fire, the veggie garden, the river bank, the Caravans etc.)


Once the clues were out I drew up a treasure map. Smiley is only 2 and obviously cant read yet so I did the treasure map with visual cues and drawings, I drew on a circle with a $ symbol that represented where the coin clues were hidden. At the end of the trail was a large X mark, where the treasure was buried.  


The treasure consisted of some real .20 cent coins, some foam coins and of course some chocolate coins. Not too many though... I buried the treasure in the soft dirt down by the river bank. This seemed the most logical spot because the dirt is soft and the pirates must have came by boat to bury it there!  (Smiley is never unattended at anytime while he is on the farm so of course safety near the waters edge had to be considered).


Here is one hidden next to a canoe.


The clues read things like;  'Follow the fence to you find a Red canoe under a tree, look close & you will see a purple coin with your next clue'
  "Where the cows play you might see a very large tree"
  "Oink oink, what has a curly tail and rolls in the mud?"
 "Pirates come by boat, can you hear the water splashing & the sound of birds tweeting. Look close & you might find the Pirates have left something behind!"


Once the treasure was buried I put up a Pirate flag and marked the treasure with a big X made out of river stones then went back to start the hunt with him.


The first clue was accompanied by a shovel.  I told smiley that a little bird had told me there is treasure buried on the land near by and that it left me with a treasure Map. I showed him the map and explained that the coins are clues that will help us find the treasure and that we need to follow this trail.
He was a little hesitant at the beginning but once he had found the second clue he caught on to the game and was jumping with excitement (literally!) .
This clue below got the best reaction because he could see it across the Field and ran flat out yelling "found it. there it is! " until he got there with the hugest grin on his face :-D
There were also pictures on the back of the coin clues and of course i read it to him but let him take the initiative to follow the clue and tell me what he thought it meant and where that next clue was. It worked a treat and he caught on really quick!  If he got stuck we kneeled down and compared the place/picture on the map as I re-read the clue...


The next best thing was spotting the Pirates flag, and his face lite up. There really is treasure here. The he had to look around to find the X of rocks and start digging. The treasure was only loosely buried so it was easy enough for him to do it himself.


TREASURE. He was shaking with excitement and so happy he had found it, it was one of the best activities we have done together. He ran up the hill and found Daddy & his Uncle to show them what he had found and he held on to his treasure map for a couple of hours. It was a good outdoor activity to get us moving, and explore the outdoors, it challenged his cognitive processes and encouraged his imagination. It really was an awesome Adventure! 

Digging for Dinosaurs; 'D' activities

D is for Digging, Dirt & Dinosaurs.


Digging up dinosaurs seemed like a really suitable outside activity to do with my boy. He is such a boys boy, he loves to get dirty & playing in the Mud.
I found some dinosaur Skeletons at the local toy shop & instantly imagined them under mounds of dirt. S could be a little archaeologist for the day & it falls nicely into the letter D learning theme I was trying to do with him.

So I got the dinosaurs & in a large old plastic tube mixed some potting mix i had left over, sand & dirt from the garden. I buried the dinosaur skeletons through out the dirt putting some along the side so he could see them from the outside of the box. I tried to bury them all in different positions and in different places, then packed the dirt down firmly. I Planted one in the top so that a foot & a back bone could be seen. That's the starting point, and then i watered them in the hope they would grow into real dinosaurs. Ha ha, no just kidding, I'm not that loopy (but that did make you think didn't it?)  I watered them so that the dry sand & so forth would compress a bit more & pack down firmly. then i let it sit over night.

This was a great out door activity & could be done in a nice clean deep sand box, in a new garden bed or even at the beach as long as you mark out where they are buried so that you don't spend hours trying to relocate the dinosaur bones :p  I added some garden dirt into the box so that my little one could come across some real life worms as he was digging, and he did!
I made sure you could see one through the side of the box just to get things started & build up his anticipation.


Lets get digging. This was very hands on and messy, just what we like.  I gathered a few different size spades from his sandbox and added a larger one and a small scoop but of course by the end of it he just wanted to use his hands. (Make sure if you are using dirt from the garden that you rake through it & divide it up, mix in some sand and make sure there are no dangerous spiders/bugs living amongst it).

It didn't take long before he was finding skeletons and he learnt that if he tapped them on the side of the box all the dirt would come off. He did well! He used the large spade initially and used the hand spades when we got down mid-way, then he used the little scoop when he seen a foot or a bone so he could dig small amounts from around it, then he would wiggle them about so that he could pull them out. Tap them to get all the dirt off & whip them along the grass.

Coincidentally as we travelled right up the yard to dig, the neighbours (who are sub-dividing & building a new house) had hired an excavator and a dump truck to dig out the foundation of their house. So we watched them for a while, S loves his construction and told me they were digging a 'massive hole' for a tree :s


Once he had found all the dinosaurs, played in the dirt for a while, re-buried them & had enough, we had to wash them. His idea of course, so we washed them & laid them out to dry.
Tip: We had an empty bucket as we were digging out the dirt, so we could transfer the dirt out of the way & use it for planting later on.

D is for Diggers in the Dirt : Free Play

Following on with the D is for Digging theme, I got a few cheap diggers from the Bargain shop, i think they were $2 each & since we often go out onto the property we have in the bush I thought it would be cool to have a plastic box full of diggers and digging equipment that can stay out there so there is always something for S to do.  There is plenty of dirt out there!  There is empty garden beds with lose dirt so i just used that & put a few shovels full onto the ground, making sure there were no creatures living amongst it. You must always be careful because spiders like to make home in dirt, and something I got in to the habit of doing when i worked with school ages children was to check the sand & dirt before they could play. Actually it was policy for us to check the sandpit each & every day before they were allowed on because you never know what could end up buried or living in it.


Here he decided to bury & dig up a dinosaur skeleton after the dinosaur dig the day before!  Then he made Minnie mouse a house (an old biscuit/shortbread tin), she even got a tree & the digger was building a new house (possibly because we seen the digger next door the day before digging a hole for a new house foundation).  I love his enthusiasm, he gets right into his story telling.


S enjoyed digging, pouring water around to make mud & he dug a little trench so he could see the water flow down it, as he was playing we were talking about the way the water was flowing with the slope of the hill and how when it rains it runs down the hills, rivers and so forth until it reached the low point which is normally a Dam. So we made a little river & a dam down the bottom.  He also had some toy farm animals so they were drinking from the dam.  The diggers were definitely a hit & he played with them for an hour or so & then spent another hour cleaning them off, washing them & splashing them through the water.  For a nice warm day it was a lovely activity to do outside, it kept him occupied, it was hands on, messy, fun and we will be sure to do it again.  What little one doesn't like making MUD pits & playing in the dirt :-D

Construction Sensory Box: D is for Digging theme.

In a tub put bits & pieces of different texture & size along with some tools. Here we used some decorative stones, small silver ones & larger black pebbles, there are some larger lucky stones, a pine cone, a fake plant, a piece of drift wood and of course, the construction diggers & signs. I gave S some spoons and measuring scoops to dig with. The first thing he did was fill up the dump truck & again he asked to dig up dinosaurs so we buried some little toy ones he had in his room.

This was an easy peasy japanesey activity and he did well at keeping everything inside the box. I love sensory boxes as they are hands on and led to much more imaginary play; well isn't it lots more fun to actually play with scooping rocks rather than just pretending? I think so.
The digging technique of this activity was very tactile, with the different size spoons, scoops and digging tools he learnt which size scoop work better to dig holes, which fills up the dump truck in the most effective way and in the meantime he got to practice manipulating objects that he uses every day (like spoons for eating).


Happy Digging!

LinkWithin

Related Posts Plugin for WordPress, Blogger...