Digestion Experiment in a bag : Exploring the Stomach

Lately Dimples has been fascinated with human Anatomy. We've been doing things focused on the human body & he's been doing lots of pretend doctor play. As usual, he has been asking lots of questions and telling lots of stories.

We started making a cardboard model of a human body and using his leapfrog tag human body book we explored and learnt about digestion, breathing, the heart, the function of body parts, the skeletal system and extending on this by developing his own "person".


One of the things he found interesting, as I'm sure many preschoolers do, is digestion and where the food goes before it turn to poo. Dimples uses the basics to explain the process "food goes in & my body uses the healthy bits for energy like petrol". We talk about how carrots help your eyes see good, fish makes your brain quick witted, beans are good for your blood and your heart, yogurt strengthens your Bones and so forth.

This digestion experiment was done to answer some of his questions about the stomach, food (& poo) and why food goes in looking lovely, where it goes and why it comes out looking like.... anything but pretty! That's putting it nicely, Dimples didn't say it quite that way :-)
 
 
We got a large zip lock bag to represent our stomach.
Then I laid out some different types of food varying in color, texture, a range of what someone may eat through a day and I asked Dimples what his 'stomach' would like to eat!
He added in some peas, cauliflower, cheese, scrambled egg, tomato sauce, potato chips, tomatoes, a biscuit, Vegemite on bread, juice, strawberry, banana & jelly into his "stomach". It looked fine for a moment.
 
We discussed how the stomach digests the food and how the stomach has acid in it, where the food travels before it enters the stomach and then where it goes before it comes out. Dimples pretended to be the stomach muscles; the stomach is a muscle with three muscle bands and it helps crush, mosh, and digest foods. Stomach acids work with the muscles to digest and pass in the food so as Dimples worked away like a muscle would he started pulling some faces 'gross' 'yuk' 'look'.
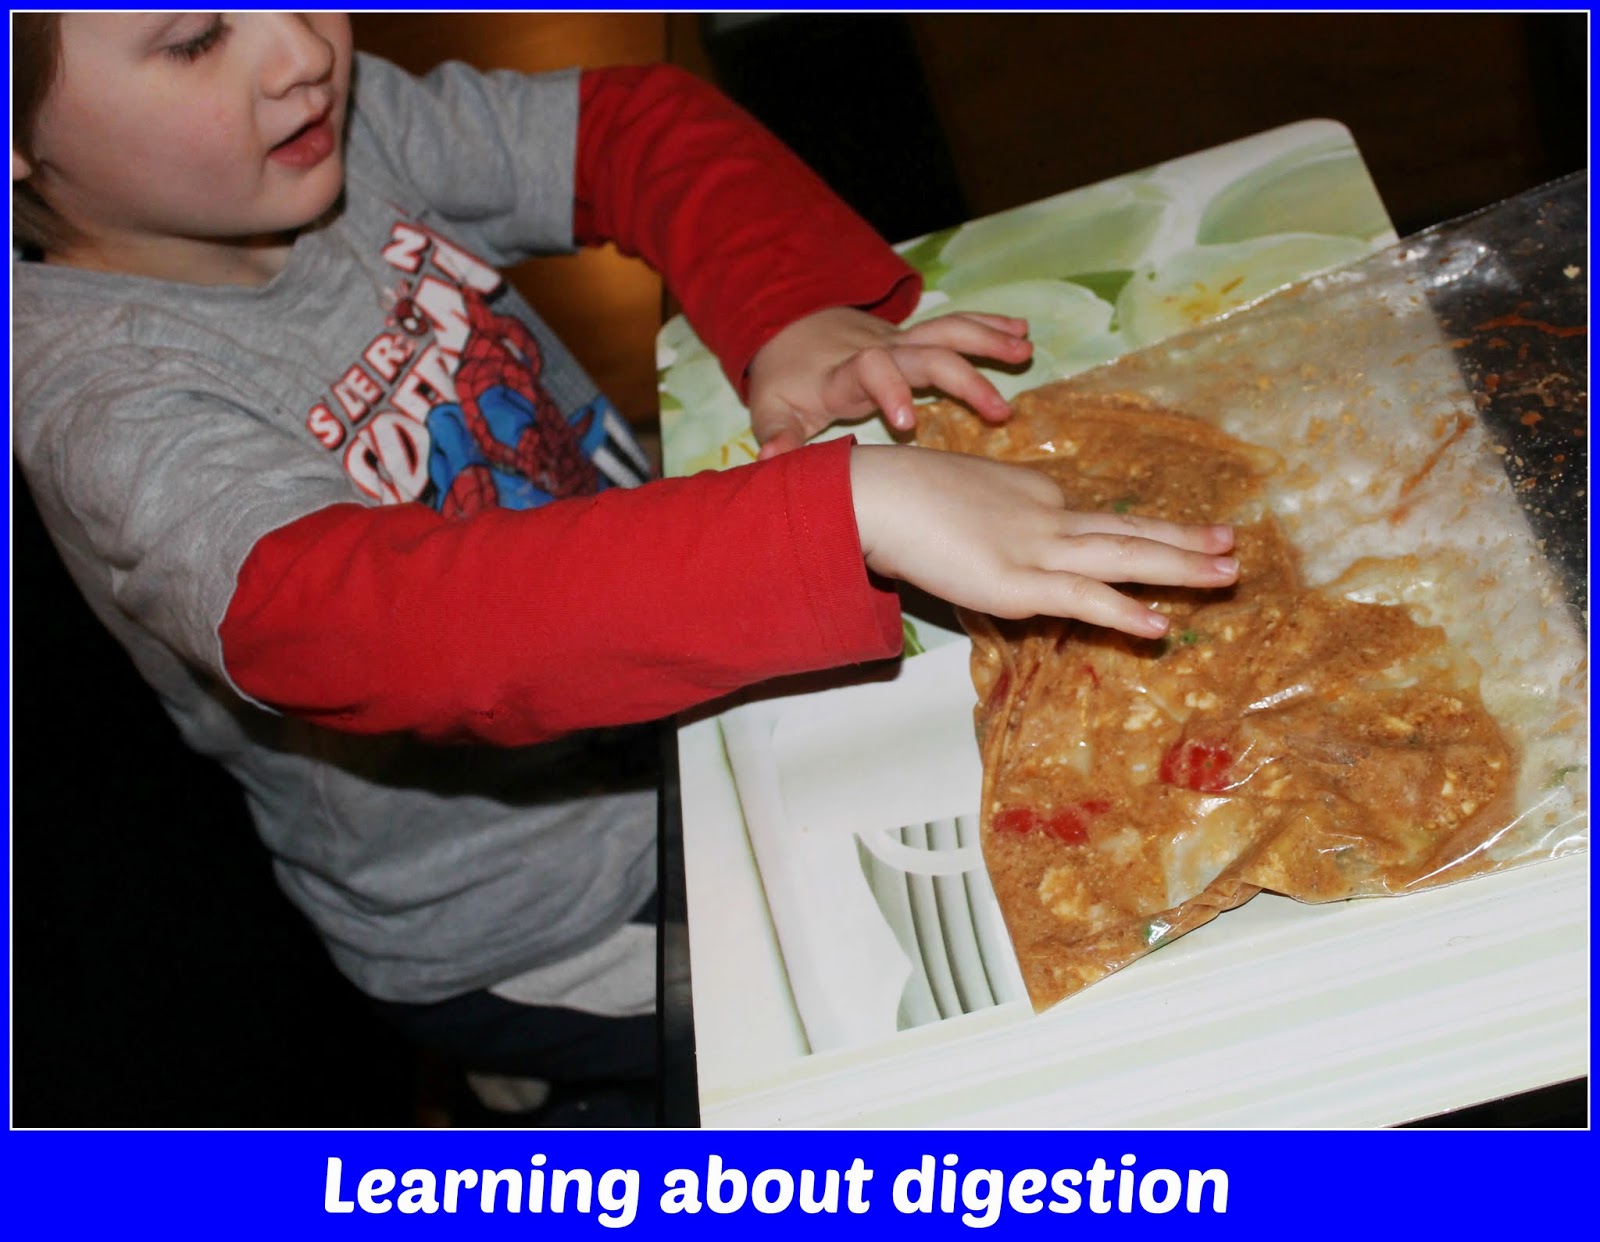
 

It ended up looking very gross, lucky we have strong stomachs because the sight of it looked like vomit. He poked at it and squished it inside the bag making sure it was fully digested.
It was very interesting for him and it did provide a fun way to visualize the digestive process and answer some of his questions.

Learning areas:
Sensory Activity
Linking Observation to Cognition regarding human anatomy
Basics of digestion
Exploring Healthy eating
Learning about human body processes
Experimenting and exploring
Cause and effect


Happy Adventures

Split Pea Funnel Tree


This "funnel Tree" was easy to throw together and the tactile tub full of split peas was so much fun for Dimples to play around with.  I had a couple of bags of split peas hidden at the bottom of the pantry, who knows how long they were hiding for, I may or may not have planned to make pea and ham soup a few winters ago, 2 maybe 3? shhhhh Instead of tossing them to the trash we utilized them in play.


What you need:
Funnels - or plastic bottles with the ends cut off like this one used in our Barley measurement Tub or the one used in our coloured rice play
Ingredients - Split peas, barley, soup mix, lentils, old cereal, or corn.
Cable ties or tape
A tub
A pole, stick or stand.

All I needed to do to make the funnel tree was attach my pole to the tub, I just used large tape.
Then using cable ties I fastened on the funnels (they usually have a hole) I added a few plastic bottles with the ends cut off, using a hole punch I put 2 holes in them for the ties to thread through.
Lining them all up over the top of each other I fastened the cable ties, the larger funnels needed one around the spout to hold them against the 'tree'. That is it, that is the funnel tree! Make it as tall as you like and space the funnels however they work best.
Make sure you do a test run so you can adjust any funnels, you don't want one to flip out side ways and all the fun to get poured on the ground.


Dimples grabbed a plastic cup and started pouring.
He was so inquisitive about how it work and the inner scientist was released, he instantly explored the ingredients and how the funnels worked. He experimented with blocking the large one, trying to pour it from the middle. He tried to tap it around and shake them to see if it poured through quicker.
Dimples watched from the top as the split peas swirled around in the large funnel and had to adjust some himself so that the funnels lined up above each other.


Learning Benefits:
Pouring & scooping
Exploring the ingredients
Experimenting
Observation
Principles of gravity
Tactile sensory play


Ways to extend play:
Barley Math & Measurement 
Water Wall using funnels
Rainbow Rice Sensory Tub
Coloured rice Play


Happy Adventures

The Butterfly Baby Room

I love decorating and designing, after doing Dimples Pirate bedroom I always dreamed of doing a little girls room. So when we found out we were expecting a little girl, miss cherub It was perfect! I also wished for 2 healthy babies, a pigeon pair would be perfect and so it happens I now have my 2 angels sent from above & decorating cute kids rooms is just another bonus that comes with the territory.

Miss Cherubs room is a butterfly theme featuring shades of pink purple and green.
We started with the base colors for the walls, light pink and a pale green. 
Green, the color in nature is meant to represent wealth, new beginnings and growth.
Pink, the color if love supports tenderness & comfort.
Purple, the color of spirit, is meant to connect you to a higher plane and experience compassion and a greater sense of humanity.

 
Butterflies mean grace, growth beauty and transformations.
On the feature wall there is a tree and flower border with fluttering butterflies every where among some funky 3D butterflies.

I found this cute diamanté chaise online and her Nanny crocheted a fluffy blanket throw to cover it. Yes, Her room is very girly indeed.  On the floor there are 3 spot mats/ circular rugs, I can see her jumping around from one to the other as if they are Lilly pads when she's older.
There's a cane toy shelf in the corner that I painted white to suit and a small toy cabinet under the window that has a caterpillar over it. Of course the curtains match, green pink and purple flowers with butterfly tiebacks.
It is such a girly room.
 
 
On the other wall there is a cherry blossom branch sticker and some more butterflies.
My favourite part of the room is above the bed, there is a canopy of lanterns in different shapes, sizes and patterns. Pom pom lanterns are really simple to make, I've done a DIY  tutorial Here, click to check out how easy they are
Among the lanterns are some more butterflies of course, clip on decorative ones.
She loves staring up at them.

 
My idea with the lanterns is that it is like a funky mobile, except it can remain there for years because Miss cherub can't reach it to pull it on her head. So there's always going to be an array of colors to look at. There is also a pretty pink chandelier fit for a queen, it's bright and sparkling, sure to capture her imagination and fantasy in years to come.
 
At the moment Miss Cherub is still in a cradle next to our bed and will remain there while I am still breast feeding her through the night so for the time being her bedroom is a play haven and she has her day naps looking around at all there is. She simply adores the 3D butterflies on the wall already and tried to swipe at them while I hold her close and the lantern canopy is definitely a hit, she is very content laying in bed staring at the array of colors.


Happy Adventures.


Easy Kids Indoor Obstacle Course


Haven't done one of these in a while so when we have had a few yucky weather days Dimples has been getting a little bored of his usual play so I set this Easy Obstacle Course up inside for him.
In the past his favourite obstacle course would have been our Outdoor Obstacle course seen here. Being the one and only contender he was trying to outdo his personal best time.

 He started with some lounge cushions, I drew up instructions along the path. First he had to jump 6 times, then he had to hop over the lizard, then there was another cushion and this time he had to shake his entire body to the count of 6.
As he jumped off there was a balloon that he had to shot & score in a bucket before sliding and "slithering" under a tunnel- Tunnels are easy and the best part of an obstacle course, use chairs and a bed sheet or a small table.
 On the other side there were some spiders & snakes sitting waiting by the balloon so he had to watch out for them and grab another balloon, first he had to put the balloon between his knees and waddle like a penguin to the shooting line, then he had to shot another goal with his balloon.
Next he had to get onto his sit and spin and spin around 7 times.
This was great for his counting practise as he had to count without thought while he was distracted doing many other things.  After he had spun around 7 times and was a little dizzy he had to walk the tightrope ( a Zig zagged line of masking tape).


Then after that he had to jump on the spot and " tiptoe" over some cup coasters. Then he was on the home stretch the last part of the obstacle course was to grab his teddy and commando crawl down low to the finish line. Once he made it to the finish line, where miss Cherub was watching he had to put on a party hat and ring the bell.


Learning Objectives:

  • Gross Motor Skills
  • Locomotor skills
  • Bilateral coordination
  • Ball Skills
  • Sequencing & Memorising the steps
  • Hand eye coordination
  • Balance
  • Counting practice
  • Imagination (e.g. avoid the lizard, tip toe over the Lilly pads, save the teddy bear)
  • Strength & Agility
  • Doing your Best - Striving to beat personal Best

Extend with these Play Ideas:
OutDoor Obstacle Course
Spider Maze
Easy Gross Motor Obstacle Course


Happy Adventures  :)

Please leave a comment and share this if you enjoyed it


Play-doh Printing, a Matter of Texture


Play-dough Printing : A Matter of Texture

Exploring surfaces and texture through imprinting in Play dough


Dimples enjoyed our Outdoor Surface Rubbings  so much that we have done it several times since. When he asked to do it inside I was a bit hesitant, I could see him accidently coloring in the walls and floors and so on in the house trying to get to different surfaces, so instead we explored different textures on a play dough surface.

Dimples went on a hunt for household objects, toys and things that had different or unusual textures, prints and surfaces.  He gathered a bumpy ball, some shells, net, a coin, a bathroom mat, a sponge, some Simpson figurines, some cocktail stirrers, lego. cars, craft nic-nacks, a button, a fork, some different textures toys and so forth looking for things that felt different and would print in the play dough.


After he explored different textures he turned his play dough surface over and rolled it out smooth and flat to try some more. The sea shells worked well, as did the bumpy ball and some of Miss Cherubs baby toys. Of course Lego and car tires work well with strong prints.


The options are endless, there are so many textures to explore and different shaped objects to compare. Dimples enjoyed the activity and went through everything we had collected a few times. In the end it was the cars and the Simpson figurines that were the favorites.


Learning Objectives:
  • fine motor strengths & skills
  • increased vocabulary of describing objects shapes, sizes, textures and feeling.
  • Objectively collecting textures
  • Observation
  • Exploration
  • Opportunities to experiment with their sense by touching, feeling, smelling, manipulating & seeing different results.

Extend with these Play ideas:

Fossil Prints
Sensory Cinnamon Playdough
making tracks in playdough


Happy Adventures


LinkWithin

Related Posts Plugin for WordPress, Blogger...