Showing posts with label playdough. Show all posts

DIY textured play dough printing Balls


I made these cool salt dough balls with prints in them the other day so they could be used as textured printing balls in playdough.  Little miss Cherub (20 months) loves her playdough at the moment and squishing all sorts of things into it to see what pattern it will make so these worked really well. If you have a child with some measuring and cooking interests you could get them involved in the process of making these by introducing measurement, pouring, mixing, kneading, food prep and baking. Here is our easy DIY textured Salt Dough rolling balls for some super cool play dough printing.

 
DIY Salt dough;
Add 1 cup flour,
1 1/2 cup salt,
1 cup water and 
1 tsp oil.
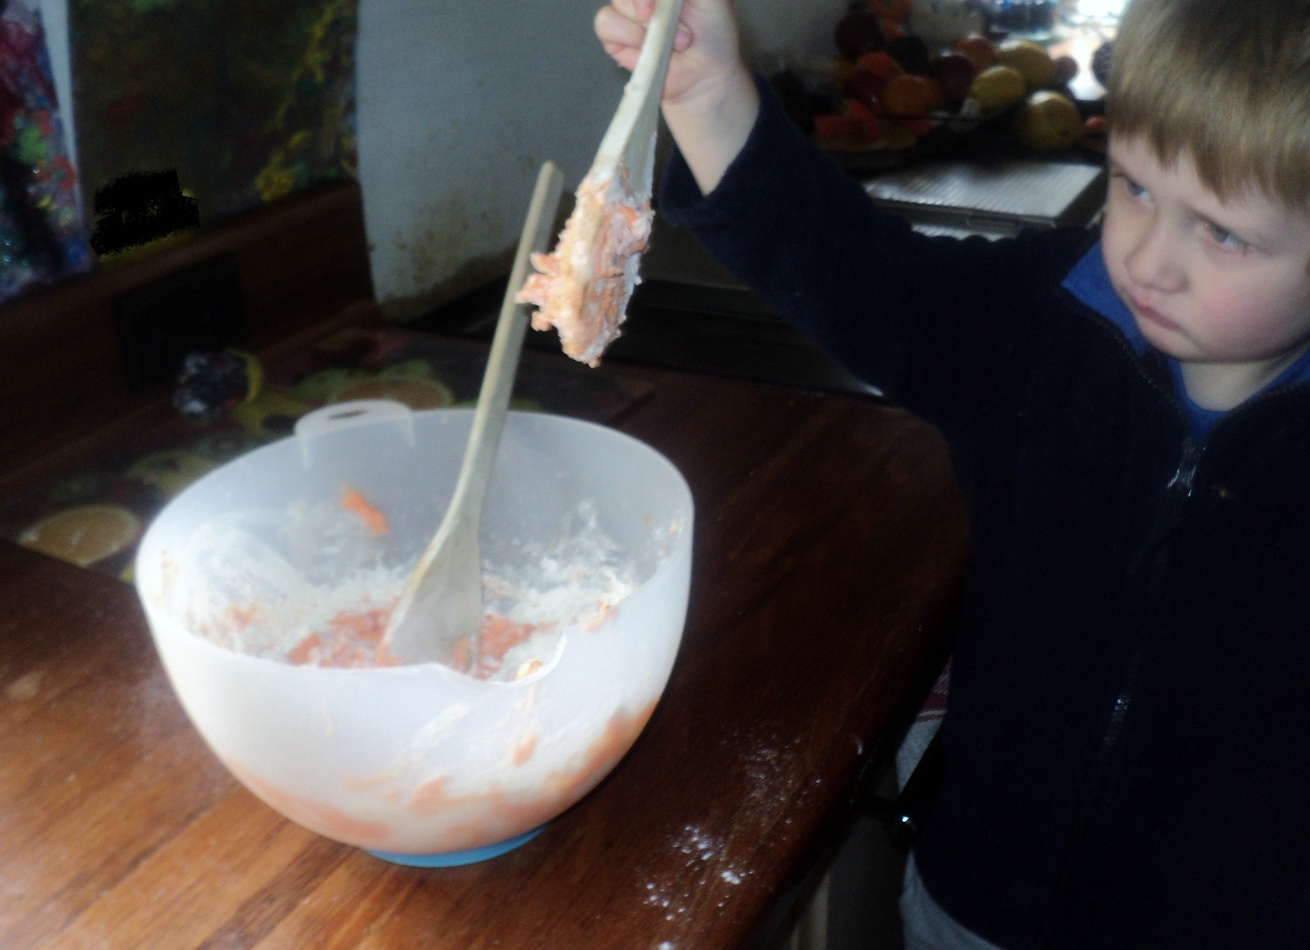
Mix into a dough consistency by adding a sprinkle more flour if it's too sticky or sloppy.
Mix together well, knead it for a few moments then let it sit for 5 so it expands and toughens a bit, (this isn't necessary but I found it made it easier to work with). 

While you wait you should preheat the oven to 100- 120 degrees, remember your not going to stuff it up if you get the details a bit wrong 😊 it's a pretty flexible recipe.
 
Lay out some cooking paper ready on a tray & take the opportunity to clean up any flour dusted little hands (chairs, benches, walls and where ever else kids manage to splat ingredients on).  Once your happy with the texture of the dough roll it into even sized balls about the size of a childs fist (great size for them to hold & roll).

 
To make our textures in the salt dough ball we used a tooth pick to puncture small surface holes; the handle end of a wooden spoon to get large round deep holes; a fork to Criss-cross thatch lines; and a print on an ornament that had snake tails, the key is to look around and think abstractly.
Look for deep textured or significant prints that are highly visible and will last the cooking process. You might find a crochet cloth works, a glass 3d print vase, wood carved furniture, utensils, jewellery, a weaved leather belt (anything really).
The trick is to roll the salt dough ball around it enough times that its printed deeply on every side and do so with as little skin contact as possible because the more handling the more you flatten or smooth out the pattern, you want deep and noticeable patterns so it prints well in your playdough. 

Once your happy lay them on cooking paper and slow bake to dry them out for an hour at least, maybe even longer depending on how thick and large your salt dough balls are. You will see them dry out and lighten up changing colour as they cook, turn them a couple times just to even the process out & tap them to see if they're cooked right through. They should be very hard.
That's pretty much it, let them cool and they're ready to roll. 

Now all you need is some silky playdough and someone keen to roll them around. Both Dimples and miss Cherub enjoyed this playdough extension and experimented with rolling the textured balls in different directions, pushing hard and soft, rolling fast and slow then around in circles, they tried just plain pushing it in a ball of play dough and all sorts of cause effect experiments. It was lots of fun!


What do your children like to use on their Playdough?


More Printing ideas;
Outdoor Surface Rubbing
Play-doh printing everyday texture

More Salt Dough ideas;
Dinosaur fossils
Halloween Salt Dough


Happy Adventures 
You can keep updated with all our Adventures by following Adventures at Home with Mum on Facebook, follow us on Pinterest, or check us out on Instagram.

Play-doh Printing, a Matter of Texture


Play-dough Printing : A Matter of Texture

Exploring surfaces and texture through imprinting in Play dough


Dimples enjoyed our Outdoor Surface Rubbings  so much that we have done it several times since. When he asked to do it inside I was a bit hesitant, I could see him accidently coloring in the walls and floors and so on in the house trying to get to different surfaces, so instead we explored different textures on a play dough surface.

Dimples went on a hunt for household objects, toys and things that had different or unusual textures, prints and surfaces.  He gathered a bumpy ball, some shells, net, a coin, a bathroom mat, a sponge, some Simpson figurines, some cocktail stirrers, lego. cars, craft nic-nacks, a button, a fork, some different textures toys and so forth looking for things that felt different and would print in the play dough.


After he explored different textures he turned his play dough surface over and rolled it out smooth and flat to try some more. The sea shells worked well, as did the bumpy ball and some of Miss Cherubs baby toys. Of course Lego and car tires work well with strong prints.


The options are endless, there are so many textures to explore and different shaped objects to compare. Dimples enjoyed the activity and went through everything we had collected a few times. In the end it was the cars and the Simpson figurines that were the favorites.


Learning Objectives:
  • fine motor strengths & skills
  • increased vocabulary of describing objects shapes, sizes, textures and feeling.
  • Objectively collecting textures
  • Observation
  • Exploration
  • Opportunities to experiment with their sense by touching, feeling, smelling, manipulating & seeing different results.

Extend with these Play ideas:

Fossil Prints
Sensory Cinnamon Playdough
making tracks in playdough


Happy Adventures


Halloween pumpkin play dough


It may be a little early but I've always been a fan of Halloween and get right in to the spirit of the decoration, dress up and trick or treating. Last year we had a Halloween theme play date and I'll do the same this year for dimples and his friends but for now it's all about psyching him up and building the excitement up with some Halloween craft and play.


First up, some orange play dough, some twigs with leaves on them and a black texter. Easy right. We had fun making these cute jack o lantern heads out of our play dough and they looked so cute.


Starting with some rolling dimples made balls, circular motions on the table and in his hands. Perfect!
Then using a stick he imprinted the sections through the pumpkins.


I made one first as he played and he imitated me straight away making the cutest pumpkin by him self.
Dimples was very pleased as he added in the pumpkin stems, asking me how they grow which started a great discussion. We then talked about the spooky jack I lantern face as I drew one on, then it was his turn.
They turned out so cool that we had to roll it all together and make one huge pumpkin head!


Glowing Sensory Glitter Bin

Using my newly found play essential, a UV black light globe, I put this super cool sensory bin together for Dimples and he literally sat and played for an hour in the dark.
If you have missed it we have done glow play with experimental glowing-vinegar- & with Glow water bath-play


I kept my mind open and looked for anything that glows in the dark or that was neon or fluorescent to put in the sensory bin and this is what I came up with.

Neon Play dough
Neon glitter dust
Glow sticks
Neon straws
Glow in the dark Plastic stars
Fluro pom poms
Fluro pipe cleaners
Fluro hair elastics
Fluro highlighters on white paper

Before: Flash on - UV light off

After: Flash off - UV light on


 Under the black light the neon/fluro play dough looked awesome, Dimples played around making caterpillars and bugs with the pipe cleaners and cut straws.


He threaded some of the pipe cleaner through the cut straws and then sprinkled the glitter everywhere. We were sitting in a dark room with a large mirror and he was laughing at the glitter on his finger tips. It was a crack up- Something good about the UV light, you REALLY see where all the mess goes, that normally you would not notice (like thousands of minuscule glitter dust specks).


Then he brushed by his face and looked in the mirror. Yep, he was covered in glow in the dark specks. Then he laughed & seen his teeth,  "Look at my teeth Mummy" they were glowing under the light as well.


He done some scribbling on white paper with the fluro highlighters and traced around some stars and then started with the glitter again.  He covered the play dough and filled some star shapes up.


After managing to sprinkle out all the glitter into the box I started to pack away some of the other bits so he had more room for the glitter.
Have you ever seen sand on a light box? Well the neon glitter under the UV light is by far much more interesting, bright and appealing but with the same affect.


Dimples used his fingers to draw in the glitter, do prints and so on, all the glitter glowed under the light and where ever he traced his finger, swished the pipe cleaners or pressed the play dough it was dark.

You must try it - Go on you know the kids (and you) will love it!!
Happy Adventures

FOSSILS

We Made Fossils.

This was a quick & easy activity, my little man has done this before at daycare & we have experimented with play-doh but this time around it was time to get down to business.....   This is how we made our realistic fossils!

Recipe:
*1.5 cup flour
*2 cup salt
*1 cup water
*1tsp oil
*1 cup warm water with your choice of food colour.

Mix it up, knead it like a dough. I think I added some ingredients as i was going so just experiment with the texture. It needs to be dough consistency, thick & not overly sticky.
This is a great opportunity to get the kiddies helping with mixing recipes & baking.

Pre-heat your oven on low. I think I had ours on 100 degree. You need to slow cook it for a couple of hours, not too hot or they may crack/crumble or you can leave them in the sun to dry for a while, the oven is quicker & it was a rainy day so we used it.
Remember: its only flour & salt so it will get taken away by birds or ants and wont last if its rained on so don't stick them out on the balcony to dry & forget about them, or they may disappear :-D

Divide your fossils pieces up into small balls & softly flatten. Try to make them roughly the same size & not too large or the dough in the centre will cook unevenly or stay too soft.
We did palm sized balls & placed them on baking paper to cook.


Choose your Fossils: What type of fossils will you do?
In this batch we did an elephant, dino heads, dino feet, animal feet & some realistic shell fossils.


Once they are cooked let them cool & test they are solid.
& now you have some great fossils to play with. 

Dig with them:  My little man is right in to his dinosaurs so we will be burying them in a sensory box to dig up & re-discover, like we did with the dino skeletons here in our digging discovery boxes

As a gift:  Half of them were given to my little ones nan as a gift, she has collected real fossils for a very long time & has a good collection of interesting artifacts so these were a little humorous for her and a nice surprise. My little monkey wrapped them in pink tissue paper in a stack & i tied a ribbon on top. He was very pleased to give something home made....


Please be warned: Since you mix these like cookies, bake them like cookies & they kind of look like strange cookies younger kids will no doubt test them out to see if they taste like cookies :)

Play dough tracks - Bike track & foot prints

TRACKS & PRINTS IN DOUGH!


This is one of our favourite things to do inside.  You can adapt it & allow your child the initiative to expand and invent new ways to play.  My little one never gets bored of it!

We have done this before with farm animal foot prints, construction trucks, bikes, hands, feet, put plants in ect. On this occasion we started off with it being MUD.
I attempted to make it brown, added a little green glitter in!


First we made our dough
*2 cups of flour
*1 cup of salt
*1 cup of water with your food colouring if desired.
*You can add glitter if you want.


My little munchikin went to work making tracks.  Exclaiming that the play dough was mud with a big muddy hill!
His older brothers, his Daddy, and his Uncle all have dirt bikes and have built their own real dirt track so this was very appealing to him.


MUD Jumping! he would exclaim, we made a jump a corner and I was in my glory watching his creative little mind wander. He was right into it, "KTM goes UP!" he would say as it jumped over the jump & then it did go up, right above his head where it flipped around, went side ways and then came down to land on the jump.
Mind you, all the sound effects were happening aswell.


By his own lead, my 2 yr old then wanted to do handprints..........  Then feet prints!
I wonder what it felt like inbetween his toes.


We have done this a few times and most often then not, my 2 year old brings out the animals.....
This time he done faces, At his Family daycare they once did 'clay fossils' so I think he got the face & the sharp teeth imprinting idea from his lovely daycare Mumma, then he did the dinosaurs spikes & tails as well, experimenting on what the imprints would look like.  Then he would ask me to turn it over (which meant turn it over, smooth it out & start fresh).


In the past we have used a bulldozer, fences, trees and kangeroos.....

We have also experimented with BIG animals vs. little animals, big prints & small prints.  Long toes & short toes, long tails and no tails. two legs vs four legs.
You can really do whatever your mind comes up with!


Happy Play doughing....


LinkWithin

Related Posts Plugin for WordPress, Blogger...